Using VSCode with Git and Docker to Complete/Submit a programming Assignment
Before starting, you should have completed the VScode Setup Guide with Docker. This guide assume you have VScode and Docker Desktop installed, as well as the VSCode extension Remote Development Extension. Alternatively, your using the VScode with SSH setup. One or the other.
Did something go wrong? Check out the troubleshoot guide
-
Accept the github classroom assignment and follow the link to the repository. For example, if you are working on Lab 1, after accepting the assignment, you’ll have a new repository named
lab-1-usernamewhereusernameis your github username. My github username isadamaviv, so you will see that in the screenshots below. -
Copy the repository link by clicking the
Codelabel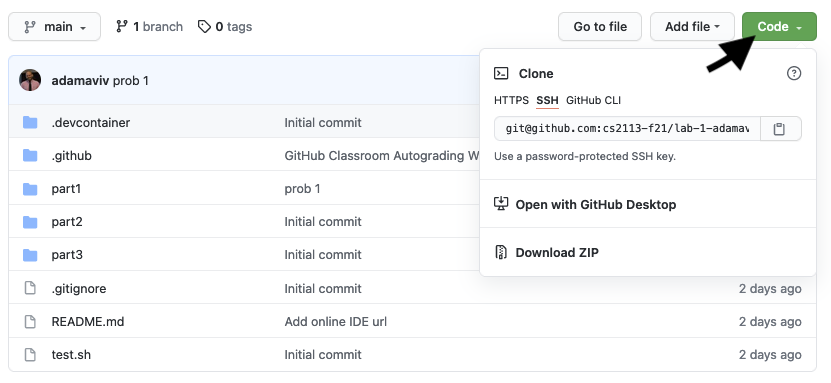
If you have setup an ssh key, use ssh, otherwise use HTTPS.
To setup an ssh key, see this guide
-
Open up a new window in VScode via
File->New Windowor ⌘⇧N / Ctrl⇧. Then click the explorer and thenClone Repository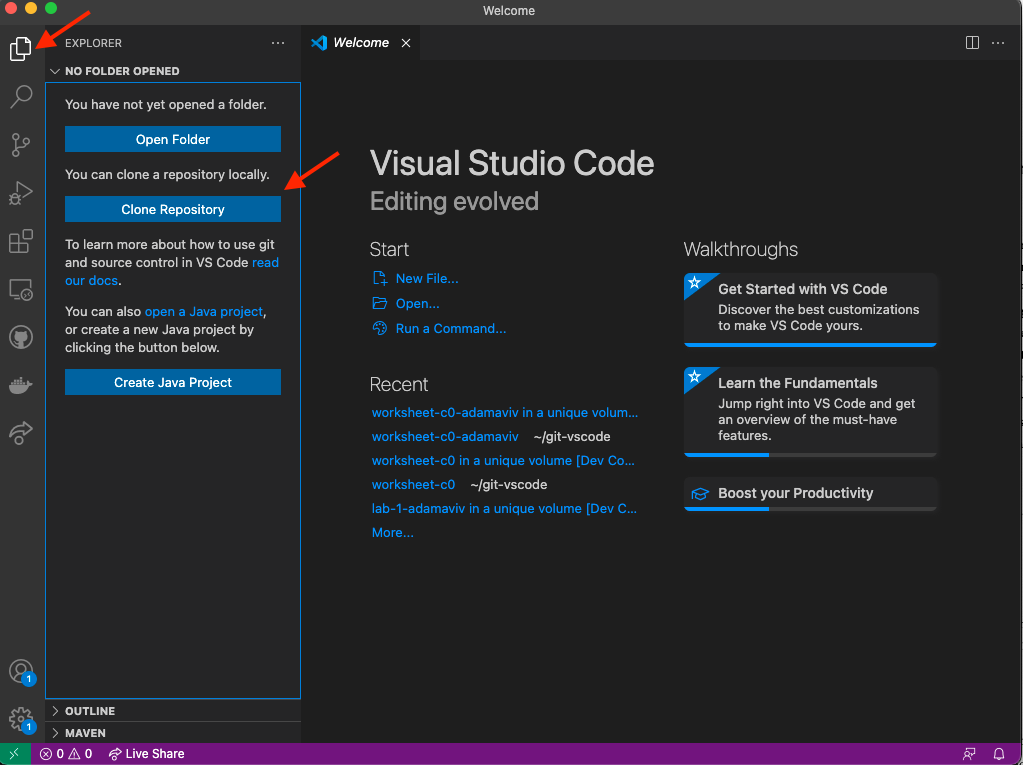
If you don’t see an option to
Clone Repositorythen you may not havegitinstalled. Follow this link to install it for your computer. -
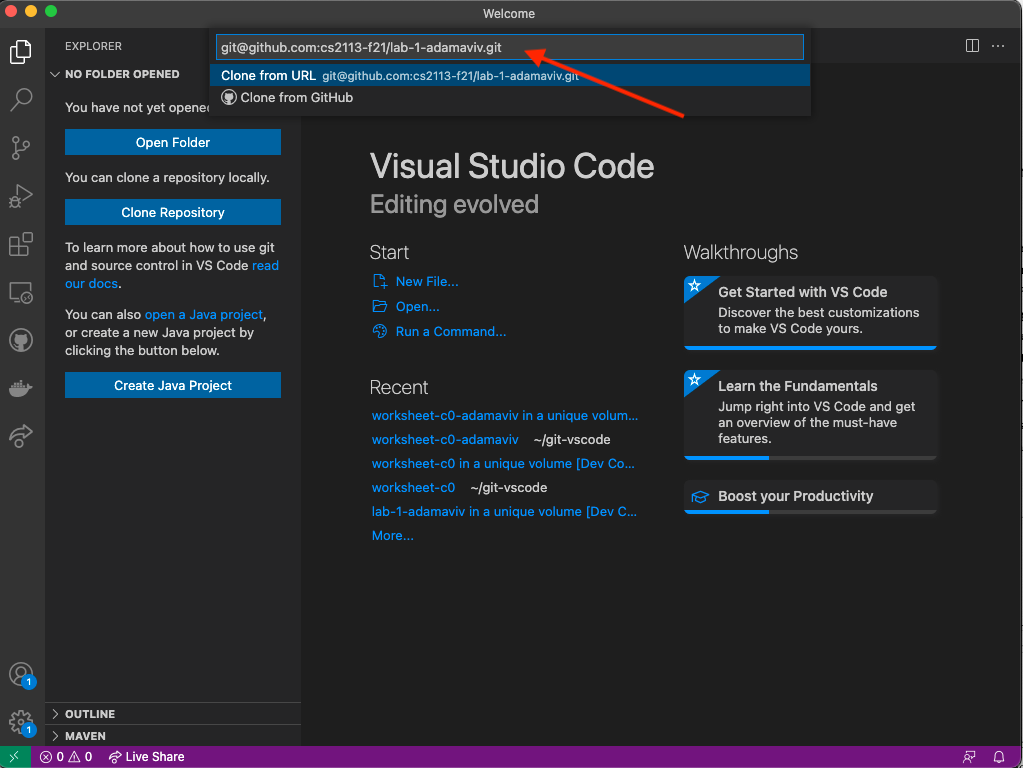
Enter the repo link in the command pallet.
-
You will be prompted where to save the repo. Save it wherever you want, but I like to create a folder called
gitorvscodeto save all my projects. -
Go ahead and open the repo in this window by selecting
Open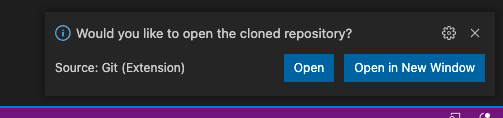
-
Nearly all repos in our class will ship with a devcontainer which will prompt you to open the repo within a container as a volume or reopen the container. You should do this as a volume.
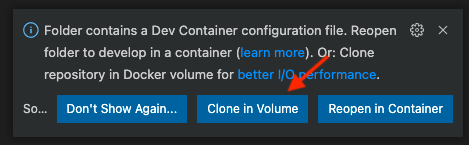
If you don’t see this step, you can skip it.
-
After this, VScode will work a bit to launch the container. This can take awhile depending on if the container image was downloaded previously.
-
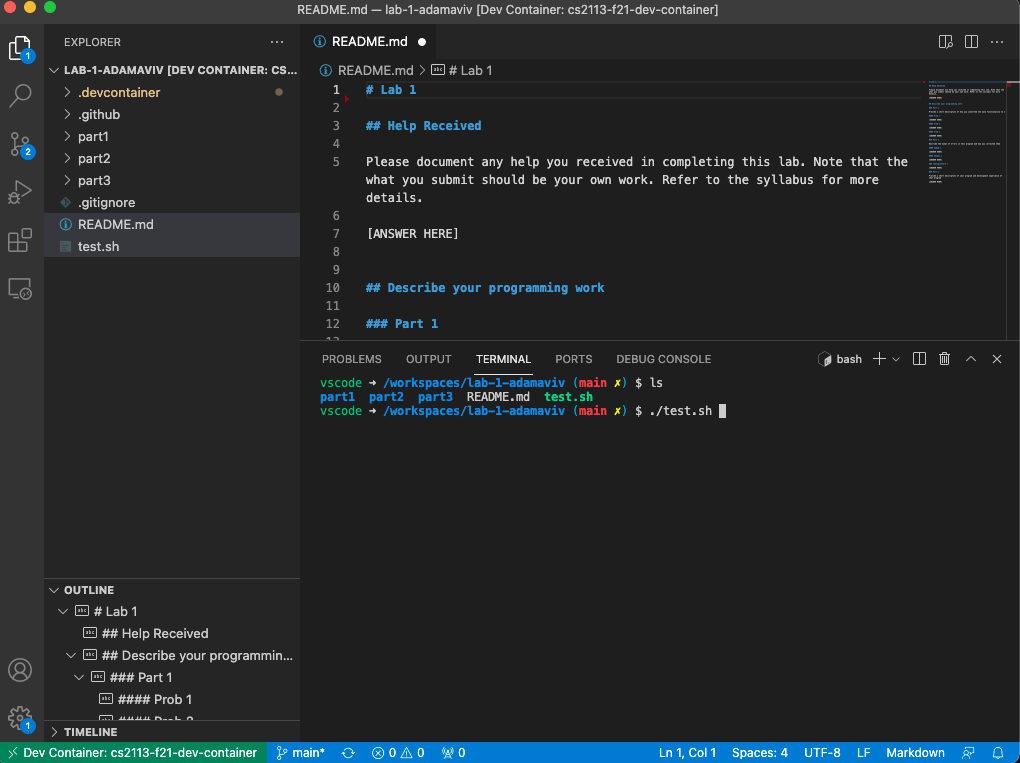
Once complete, you’ll have your workspace ready to go and integrated terminal open.
-
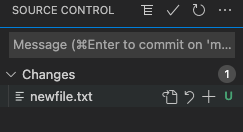
Do your work. And once done, you need to commit your work. Start by clicking on the repo symbol

-
Add the modified files (or new files) to be staged for commit by pressing the
+
-
Click the ✓ to perform the commit
-
Finally, push your changes to github by clicking the
...at the top and selecting push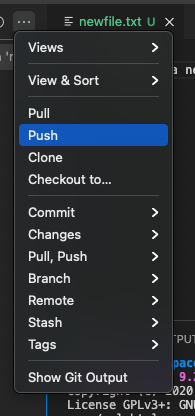
-
Finally, finally, you should go back to github as a final check to make sure you pushed all your changes.
Using the git command line in the integrated terminal
You can also use the command line to do the git commands.
git add file.txt        #add a file to the commit
git commit -m "message" #perform the commit with the commit message
git push                #push the commit to github
If you want to add all the files that have been modified and commit all at once, use the following
git commit -a -m "message"
Having an issue with ssh?
If you find that your ssh key is not available in the container, you may need to add your private key to the ssh-agent.
VScode has a good guide explaining how to help with that
Asking you to set up your git profile?
If you’re getting a error saying you need to setup your name and email, then open the integrated terminal and type these two commands
   git config --global user.name "John Doe"
   git config --global user.email johndoe@example.com
Where John Doe is replaced with your name and johndoe@example.com is replaced with the email address you used to sign up to github